Google OAuth
Google Console Setup for Android Client ID
This guide will walk you through the steps to set up a project in Google Console, create an OAuth consent screen, and generate an Android client ID for Google authentication.
Creating a Project in Google Console
- Go to Google Cloud Console and sign in with your Google account.
- Click on the project selector dropdown at the top of the page.
- Click on "New Project".
- Enter a name for your project and click "Create".
- Once the project is created, select it from the project selector dropdown.

Creating an OAuth Consent Screen
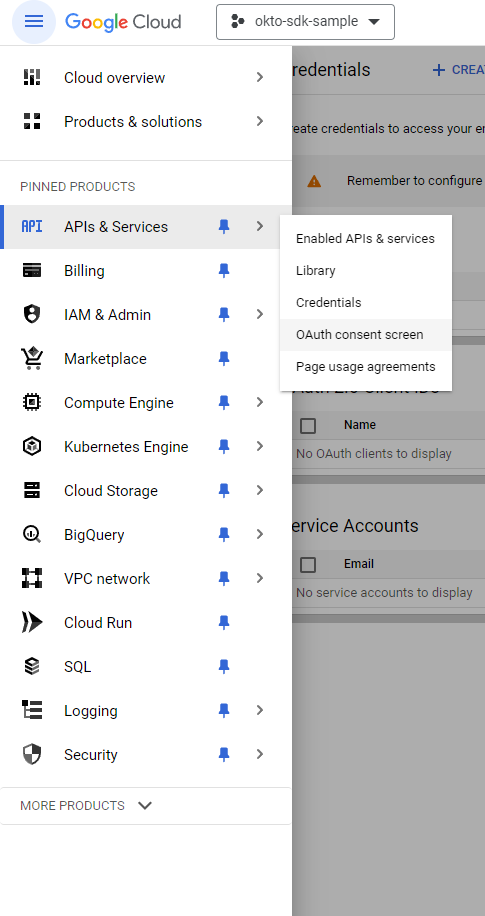
- In Google Cloud Console, navigate to the "APIs & Services" > "OAuth consent screen" page from the left sidebar.
- Click on "Create" to start setting up your consent screen.
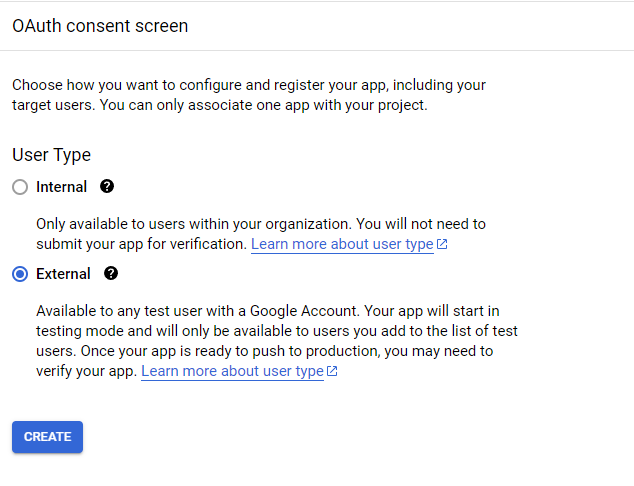
- Choose the user type for your application (Internal or External) and click "Create".
- Fill out the required fields on the consent screen configuration form:
- Application name: Enter the name of your application.
- User support email: Enter an email address where users can contact you for support.
- Developer contact information: Provide contact information for the developer of the application.
- Click "Save and Continue".
Creating an Android Client ID
- In Google Cloud Console, navigate to the "Credentials" page under "APIs & Services".
- Click on "Create credentials" and select "OAuth client ID".
- Choose "Android" as the application type.
- In the
Package namefield, enter the package name of your Android app (e.g.,com.example.myapp). - In the
SHA-1 certificate fingerprintfield, enter the SHA-1 fingerprint of your signing certificate. You can obtain this fingerprint using the EAS credentials command:
npx eas credentialsInfo:First Time Setup
ShowIf this is your first time using EAS credentials, you might need to:
- Install the EAS CLI:
npm install -g eas-cli - Log in to your Expo account:
eas login - Configure your project:
eas build:configure
This command will show your project's credentials, including the SHA-1 fingerprint needed for Google OAuth setup.
- Under "Advanced Settings", enable
Custom URI Scheme Supportto handle OAuth redirects properly - Click "Create" to generate your Android client ID.
- Copy the client ID provided.

Conclusion
You have successfully set up a project in Google Console and generated the Android client ID for Google authentication. You can now use this client ID in your Expo application's Google Sign-In configuration.
Tip:Next Steps
ShowReturn to the quickstart guide and use your Android client ID in the Google Sign-In configuration:
const [request, response, promptAsync] = Google.useAuthRequest({
    androidClientId: 'YOUR_ANDROID_CLIENT_ID', // Add it here
    // ... other configuration
});